
Celebrity
Create a Gaming Website in Six Simple Steps


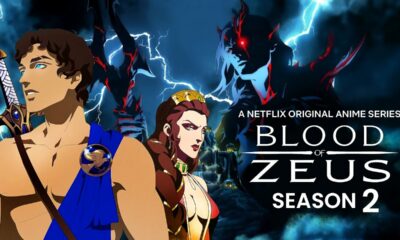

Blood of Zeus Season 2: Release Date, Cast, and more!
Developed by Charley Parlapanides and Vlas Parlapanides, Blood of Zeus is an American adult animated fantasy action streaming television series...


Love, Death & Robots Season 4: Release Date, Plot, and more!
Created by American filmmaker Tim Miller, Love, Death & Robots is an adult animated anthology streaming television series. The show...
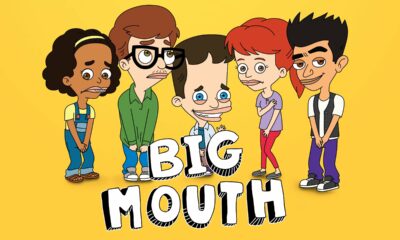

Big Mouth Season 8: Release Date, Trailer, and more!
American adult animated coming-of-age sitcom, Big Mouth was created by Nick Kroll, Jennifer Flackett, Andrew Goldberg, and Mark Levin. The...


One Piece Season 2: Release Date, Cast, and more!
Developed by Matt Owens and Steven Maeda, One Piece is a fantasy adventure television series. It is a live-action adaptation...


Heartstopper Season 3: Release Date, Trailer, and more!
Heartstopper is a British coming-of-age romantic comedy streaming television series which is written by Alice Oseman. It is adapted from...


That ’90s Show Season 2: Release Date, Cast, and more!
American television period teen sitcom, That ’90s Show, is developed for Netflix and is set during the summer of 1995...
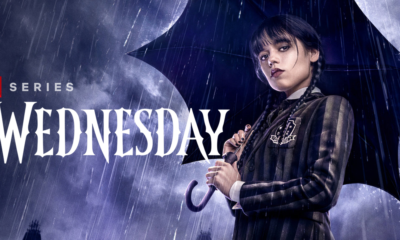

Wednesday Season 2: Release Date, Plot, and more!
Created by Alfred Gough and Miles Millar, Wednesday is an American coming-of-age supernatural comedy horror streaming television series. The show...


Mo Season 2: Release Date, Plot, and more!
Created by Mo Amer, and Ramy Youssef, Mo is an American comedy-drama streaming television series that premiered on August 24,...


Emily in Paris Season 4: Release Date, Trailer, and more!
Created by Darren Star, Emily in Paris is a comedy-drama series, made for Netflix. Star is also the executive producer...


My Life with the Walter Boys Season 2: Release Date, Cast, and more!
Developed by Melanie Halsall, My Life with the Walter Boys is an American coming-of-age teen drama television series. It is...